Installation
Timber Doorset Install Guide
Installation Guide For Timber Doorsets
1. Reception, Inspection and Storage
To make sure that the material is in good condition and meets the design requirements when it's time to install it, it's important to verify if the product packages are correctly labeled, visually inspect them for any blows or defects, and store them properly. Within the first twenty-four hours of receiving the materials on-site, it is advisable to check the following:
- Make sure the packaging is intact and undamaged.
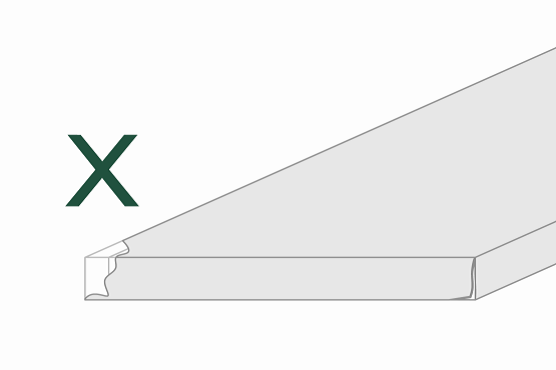
- Ensure there is no product damage due to mishandling or transportation, like bumps or breaks on the corners, sides, or edges of the product.
2. Handling and Storage
To ensure the doors remain in good condition during on-site execution and while multiple trades are working simultaneously, it is important to take precautions. Here are the recommended instructions for storage:
- Keep packages unopened until ready for use.
- Avoid exposing the doors to climatic factors that could damage the wood, such as:
- Air currents.
- Sunlight.
- Water.
- Ensure that the packages are not in direct contact with the walls. Maintain a separation of at least 0.5 meters.
- Stack the packages in a flat arrangement, supported by four equally spaced strips or other elements that provide distance from the ground. This allows for uniform support of the packages (e.g., pallets).
- Maintain a humidity level in the storage area between 30% and 65%.
Following these instructions will help prevent deterioration of the doors and ensure they remain in optimal condition until installation.
3. Conditions prior to Installation
To ensure the successful installation of doors and achieve customer satisfaction, it is crucial to consider the following conditions:
3.1 Work Conditions (Installation Time)
- On-site construction work should be completed before installing the doors. In exceptional cases, the walls may be unpainted.
- The floor must be installed, or at the very least, its final height and relevant levels should be clearly marked.
3.2 Local and Environmental Conditions
Humidity and Temperature:
- Installation should be avoided during periods of high relative humidity.
- It is important to maintain ideal conditions before and during the installation, which include:
- Moisture content of the wall at the time of installation: This factor is particularly significant for veneered elements, as it helps prevent moisture transmission and associated problems. Sufficient time should be allowed for proper setting and complete drying of the wall components.
- Moisture content of the door assembly elements: The moisture content of these elements affects the behavior of the installed door. It is important to ensure that their moisture content closely matches the expected conditions of use.
- Recommended maximum moisture values for carpentry elements:
Relative humidity: Between 30% and 65%
Wall and ceiling humidity: Less than 2.5%
- Humidity in plasters and paints: Less than 5%
- (Source: UNE-EN 942:2007)
3.3 Support Conditions (Sub-frame)
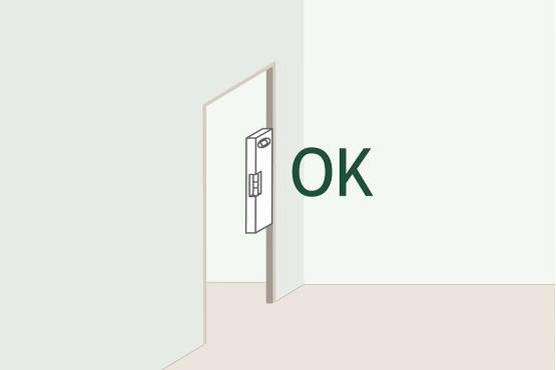
- The sub-frame, typically made of wood, is placed between the work and the door frame. It serves as a template for aligning the work and facilitates the assembly and disassembly of the door set (door opening) without damaging the work.
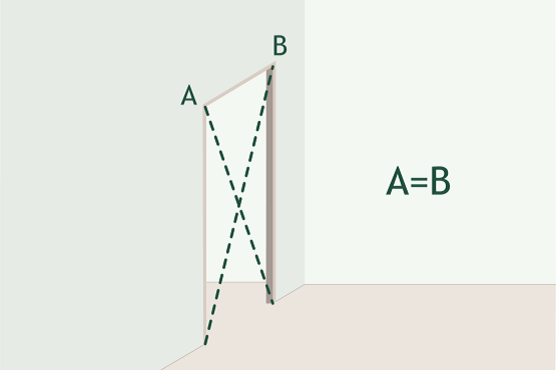
- The sub-frame must be plumb (vertically straight) and squared (forming right angles).
3.4 Surface Leveling
It is crucial to ensure proper leveling and alignment of both the floor and walls.
- The floor should be leveled to ensure a flat surface for the door installation.
- The walls should be plumb, meaning they are vertically straight and aligned correctly.
By ensuring that the surface is properly leveled and plumb, it helps facilitate the accurate and smooth installation of the doors.
4. Planning The Installation
Before commencing the door installation, it is advisable to engage in thorough planning. This planning phase helps estimate timelines, organise processes, and minimise unforeseen circumstances.
4.1 Site Element Distribution
To ensure a successful installation and effective distribution of elements, it is important to review the technical documentation of the project. It is recommended to keep the protective packaging intact until the products are ready to be installed in their designated locations.
4.2 Determining Door Opening Direction
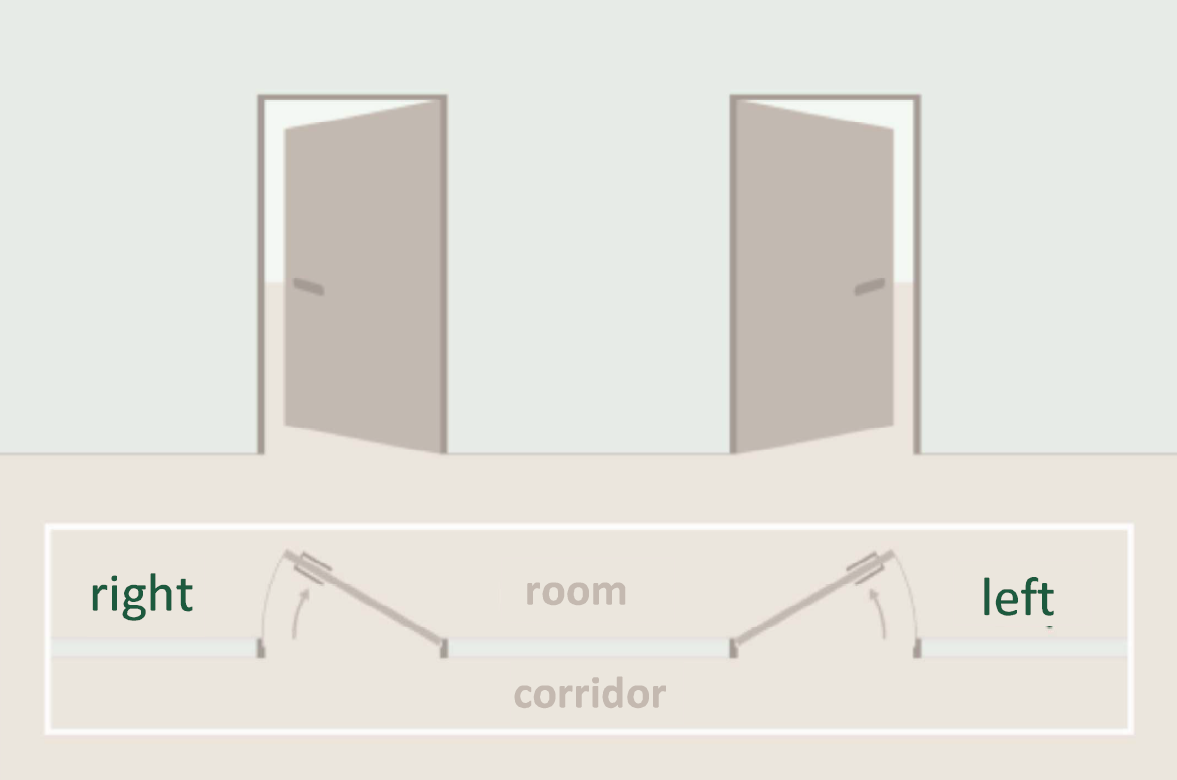
Referring to the technical documentation, the direction of door opening should be confirmed. The opening direction is determined while standing outside the room. It can be categorized as either opening to the right or opening to the left, as indicated by the following diagram.
4.3 Hollow Door Compatibility
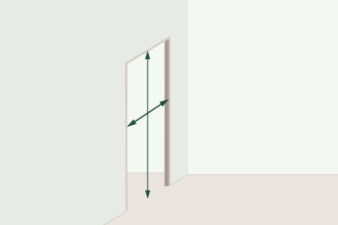
The dimensions of the free hollow within the sub-frame will be examined to ensure its compatibility with the dimensions of the door element being installed. This step involves checking whether the hollow is suitable in terms of size to accommodate the door element properly.
4.4 Clearances Planning
To achieve optimal door operation, it is crucial to adhere to the specified clearances between the door assembly and the sub-frame. The following clearances should be respected:
Top Clearance:
- Maximum: 5mm
- Minimum: 2mm
Bottom Clearance:
- Maximum: 3mm (between the door leaf and the floor)
Side Clearance:
- Maximum: 5mm
- Minimum: 2mm
5. Placement Process
5.1 General Overview
Once the product's conformity is established and the installation is planned, the placement process will be carried out in three stages:
- Unpacking and inspection.
- Installing the door unit.
- Final inspection of the installation before commissioning.
It is important to note that certain components, such as hardware, glasses, and sealers, cannot be modified or altered during the placement process. Additionally, there are restrictions on cutting doors with FD ratings or installing additional hardware that requires machining on RF doors (e.g., peepholes).
5.2 Tools and Installation Materials
The tools and materials typically used for door installation include a rubber hammer, screwdriver, drill, level, stapler, compressor, tape measure, square, chisel, polyurethane foam (fire retardant for RF doors), miter saw, sander, clamps, and white glue. When unpacking, avoid using cutting tools.
5.3 Inspection
Inspect the faces and edges of the door to detect any possible defects, such as curvature or warping.
5.4 Door Placement Process
The door components are supplied in a kit, including the machined but detached leaf and frame, along with the corresponding hardware. Fire-resistant doors will not supply loose door leaves. Strictly follow the manufacturer's installation instructions for optimal installation, considering factors like the intended types of support walls (flexible or rigid), the type of door (hinges or pivoting), and any constructive variants.
5.5 Gap Presentation
Assemble the frame with screws or staples. Install the hinges on both the frame and the door. Ensure that the door is flush with the ground level and set it in place using wedges.
5.6 Fixing Hidden Hardware
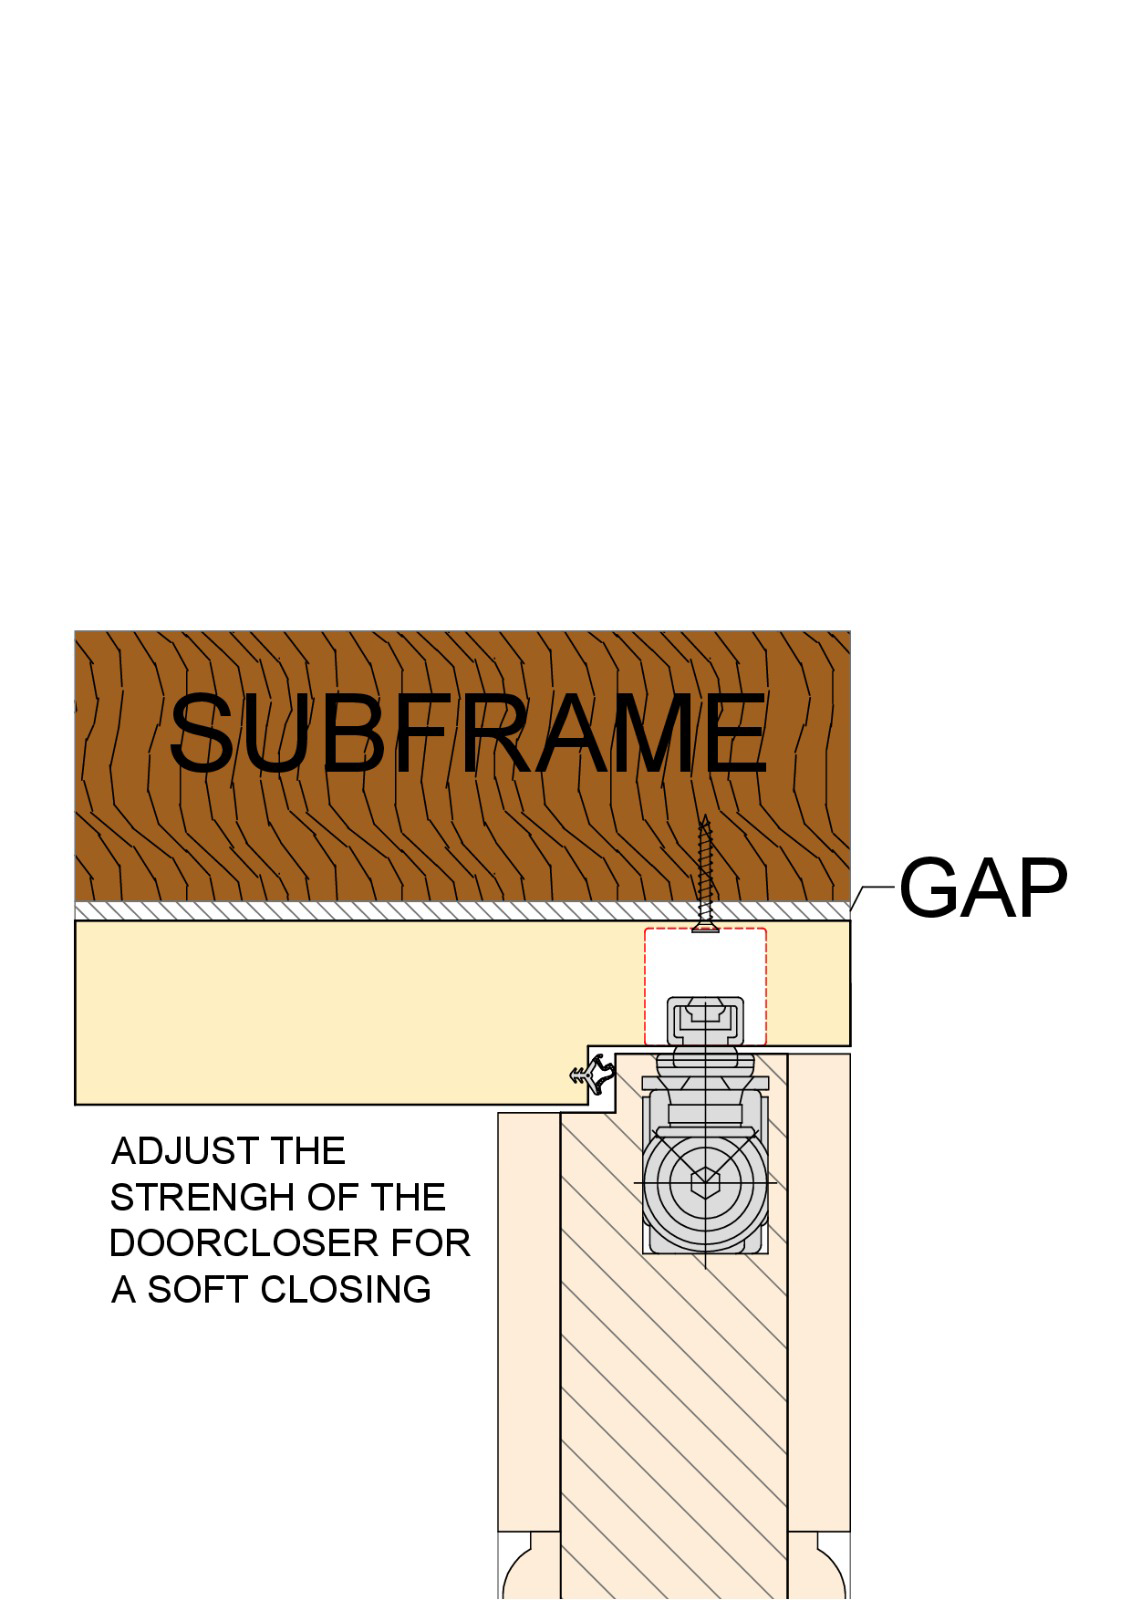
If there is hidden upper closure hardware, install it at this stage, both on the frame and the door. Adjust the hardware's tension to a minimum level during the installation and fine-tune it at the end.
5.7 Basic Fixing of the Door Frame
To achieve accurate, level, and plumb fixation, begin with the side of the frame that contains the hinges, considering the door-floor clearance specified in section 4.4, "Clearances Planning."
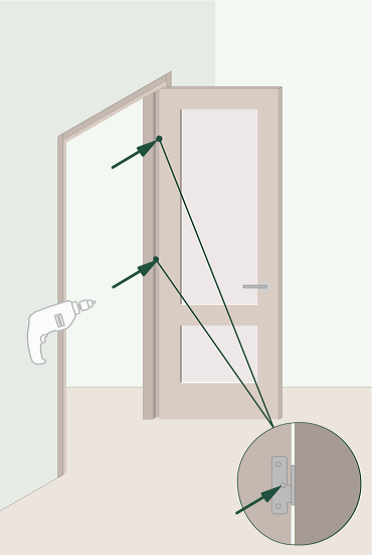
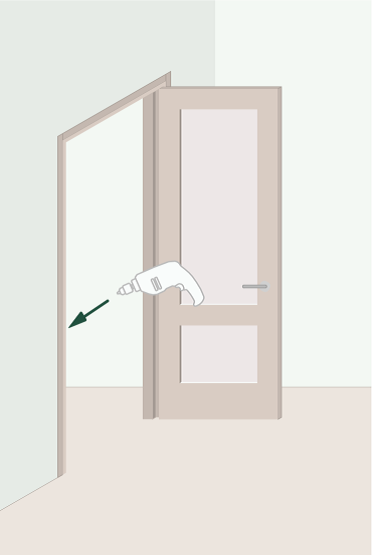
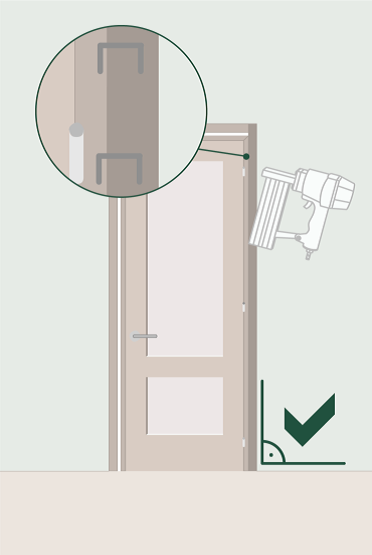
To secure the frame to the structural wall, use the hinge mounting holes. For additional support, we recommend using a nail gun to fix through the architrave at a 45° angle
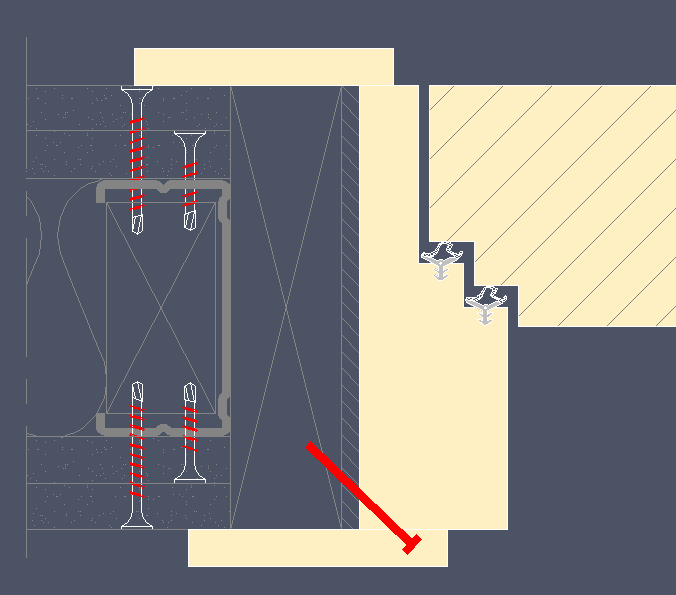
The door frame can also be fixed using corrugated clips, following the specified scheme.
5.8 Checking Squaring
After fully opening the door, it is important to check the leveling in all three axes of coordinates (rotation on the x, y, and z axes). The door unit must be properly positioned and squared. If any discrepancies or misalignments are observed, necessary adjustments should be made to ensure proper alignment and squareness.
5.9 Basic Fixation of the Frame
Next, proceed with the temporary fixation of the frame by using the central screw of the hinges. This will provide initial stability to the door frame.
5.10 Checking Leveling and Plumb
Using a level and set square, check the leveling in all axes (rotation on the x, y, and z axes), particularly focusing on the side of the hinges. Additionally, verify that the clearances between the frame and the door leaf are equidistant all around. Ensure that the door frame remains properly leveled and squared.
5.11 Final Fixation of the Frame
Fixate the frame to the sub-frame using screws through the lock plate and hinges. This step provides secure and permanent attachment of the frame.
5.12 Installation of Hardware on the Door Leaf
The installer will proceed with the installation of hardware on the door leaf, including hinges, automatic upper and lower closing mechanisms, handles, etc. If the construction work is not yet complete, it is recommended to leave the automatic lower lock fully raised to prevent damage.
5.13 Sealing
Thoroughly seal the clearances between the frame and pre-frame using polyurethane foam. In the case of fire-resistant doors, ensure that the foam used is fireproof to maintain the door's fire resistance properties.
5.14 Fixing the Architrave
First, the elements that will serve as the architrave will be cut, ensuring that the cut is oriented towards the bottom (facing the ground). They will be positioned on the door, and the point of cut (miter joint or right joint) will be marked. The elements will then be cut accordingly.
If using an extendable architrave, it should be inserted into the recess made in the frame for this purpose and adjusted to fit the wall.
For non-extendable architraves, they will be fixed in place using adhesives. White glue may be added at the miter joint for added strength and stability.
5.15 Hardware Check
Once the installation is complete, carefully inspect and verify the correct installation and functioning of all hardware components. Pay attention to the regulation of the automatic lower closing mechanism to ensure that the rubber closure touches the floor evenly.
If necessary, adjust the latch and regulate the automatic upper locking mechanism, whether it is visible or concealed.
Hinge Adjustments - Concealed Hinges (most common hinge type / TE 540 3D)
For concealed hinges, we use
Tectus by Simonswerk UK
(for most doors we use the
TE 540 3D). This is where design meets functionality providing a completely concealed hinge system capable of load capacities of up to 300kg. An opening angle of 180 degrees with three-dimensional adjustability and ‘maintenance free’ slide bearing technology make this our first choice for any prestigious application.


